
Questions this guide answers
How do I turn a photo into a 3D object for my floor plan?
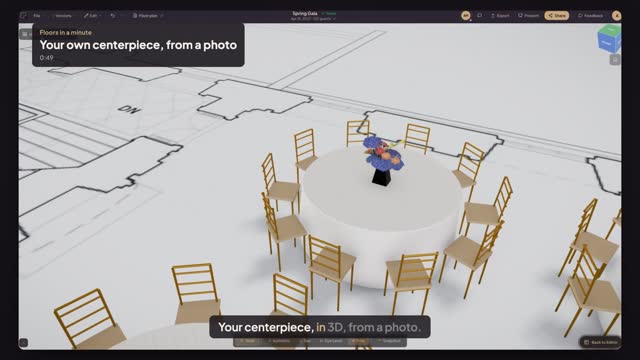
Click a table, open Centerpieces and press Create your own centerpiece, or create a custom element from the library. Drop in your photo, name it, type its real size and pick its material. Keep Realistic and press Create. A few minutes later the 3D element is ready to place on your plan.
How much does a custom 3D object from a photo cost?
A realistic 3D element made from your own photo costs one dollar of credit. Basic shapes such as boxes, cylinders and cones are free. Credit comes in packs starting at thirty-nine dollars and never expires, and the same credit also unlocks events for twenty dollars each.
Will my custom object show at its real size in 3D?
Yes. You type the piece's real dimensions when you create it, so it is placed on your floor plan at true size. It then appears in Preview in 3D with everything else, which lets your client see their own centerpiece, bar or furniture on the table or in the room before the event.
Transcript
Your centerpiece, in 3D, from a photo.
The client's signature centerpiece isn't in any library. Photograph it.
Click a table, open Centerpieces, and press Create your own centerpiece. Drop in your photo.
It's already tagged Centerpiece. Name it, type its real size, and pick Mixed.
Keep Realistic: one dollar of credit. Press Create. It takes a few minutes.
A few minutes later, click the table, open Centerpieces, and pick your design.
Open Preview in 3D and fly in close. This is what your client sees.
Your own centerpiece, on the table, at true size, from one photo.
Next: share it with your client.